Show one Alert in React-Native :
Showing an Alert message in React-Native is easier than you think. If you want to show a custom alert to the user, then you need to create a different component, but for default alert, we can use one API known as Alert.
Alert API is used to show a static alert on Android and iOS devices. We can create one Alert with one Alert title, Alert message and optionally a list of different buttons. For Android, we can define up to 3 buttons and for iOS, unlimited buttons. Android Alerts can have neutral, negative and a positive button. alert() method is used for creating an alert. This method is defined as below :
static alert(title, message?, buttons?, options?, type?)
Create one Alert with three buttons :
Let’s try to create one Alert with three different buttons. Create one react-native project using react-native init and change the App.js file as below :
import React, { Component } from "react";
import { Platform, StyleSheet, Text, View, Button, Alert } from "react-native";

type Props = {};
export default class App extends Component<Props> {
  buttonClickded = () => {
    Alert.alert(
      "Alert Title",
      "Alert Msg",
      [
        { text: "Later", onPress: () => console.log("later pressed") },
        {
          text: "Cancel",
          onPress: () => console.log("Cancel Pressed"),
          style: "cancel"
        },
        { text: "OK", onPress: () => console.log("OK Pressed") }
      ],
      { cancelable: false }
    );
  };

  render() {
    return (
      <View style={styles.container}>
        <Button
          onPress={this.buttonClickded}
          title="Click Me"
        />
      </View>
    );
  }
}

const styles = StyleSheet.create({
  container: {
    flex: 1,
    justifyContent: "center",
    alignItems: "center",
    backgroundColor: "#F5FCFF"
  }
});
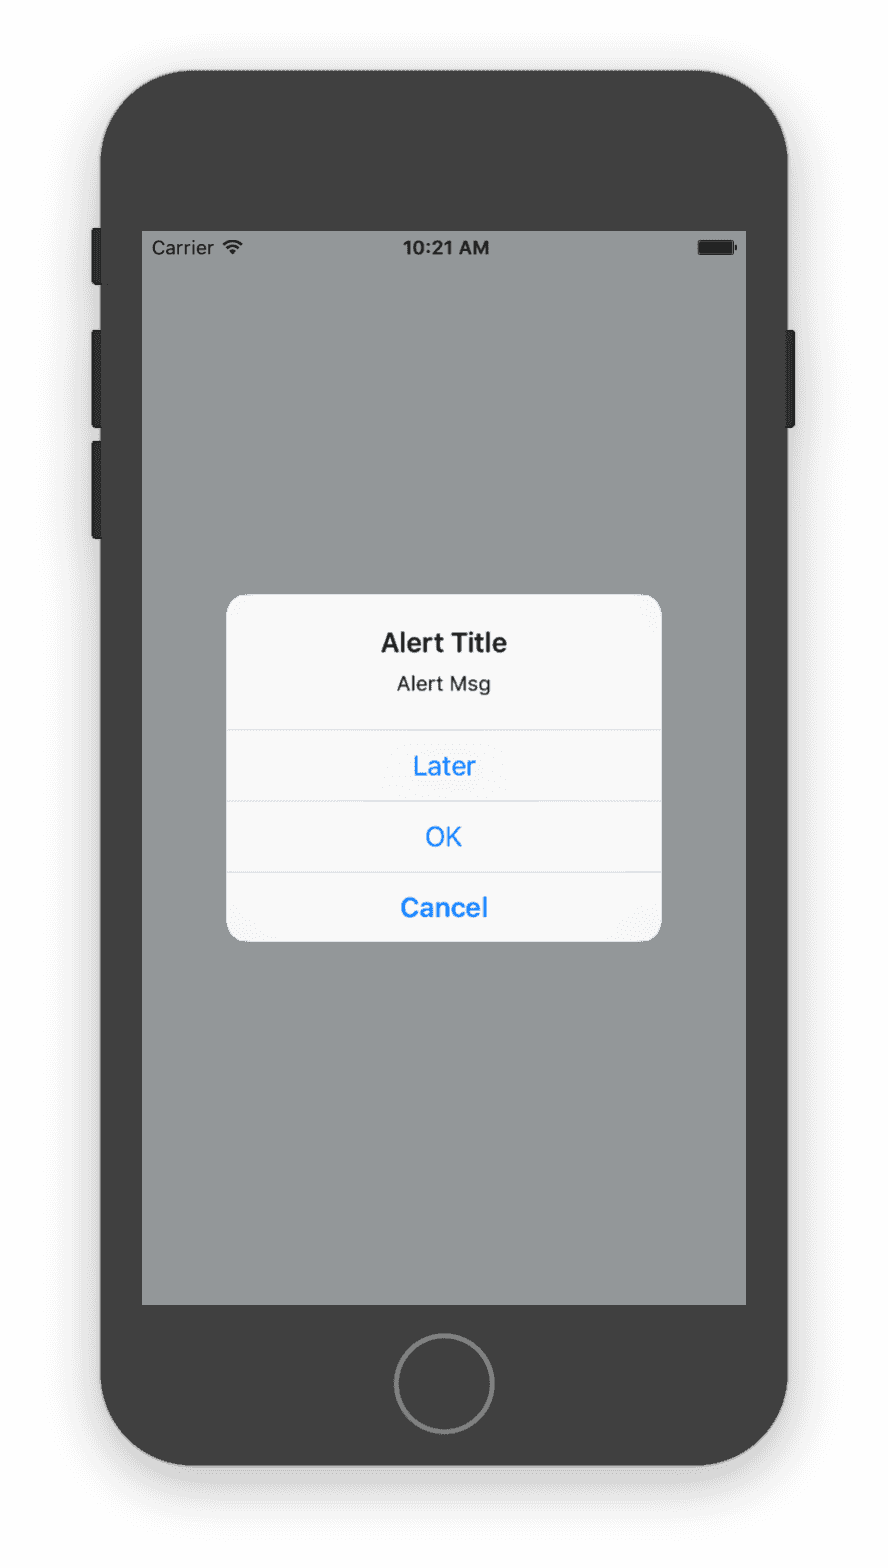
Run the project and it will look like as below :
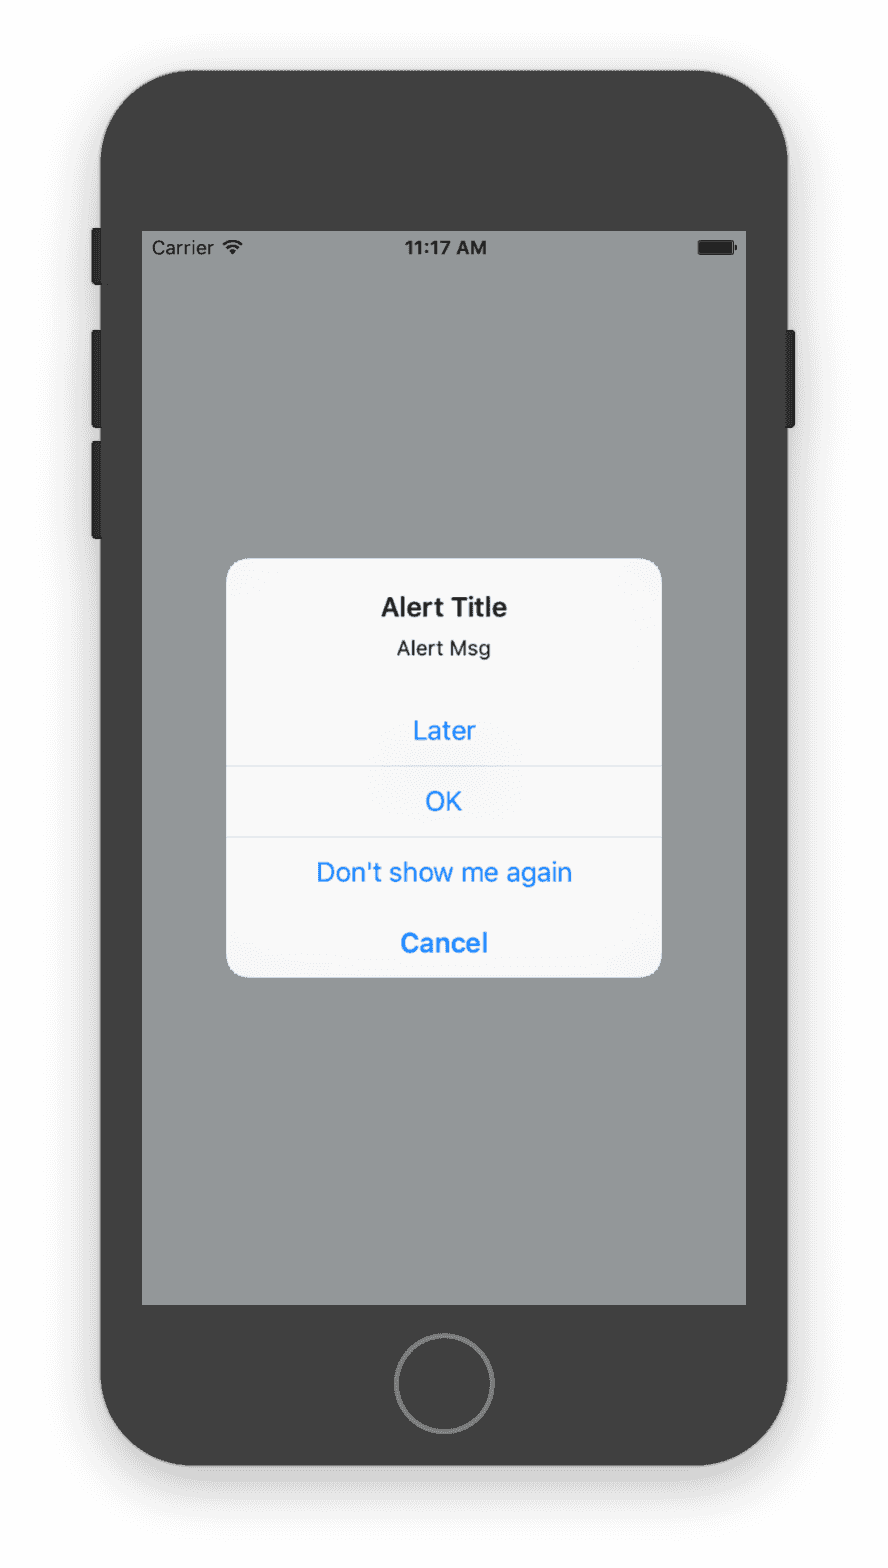
Similarly, we can create Alerts with four buttons for iOS like below :

Note that we can create an alert in Android only up to 3 buttons maximum. The buttonClicked function for the above example looks like below :
  buttonClickded = () => {
    Alert.alert(
      "Alert Title",
      "Alert Msg",
      [
        { text: "Later", onPress: () => console.log("later pressed") },
        {
          text: "Cancel",
          onPress: () => console.log("Cancel Pressed"),
          style: "cancel"
        },
        { text: "OK", onPress: () => console.log("OK Pressed") },
        {
          text: "Don't show me again",
          onPress: () => console.log("Don't show me again pressed")
        }
      ],
      { cancelable: false }
    );
  };
You can create any number of buttons in Alert for iOS. If the number of options is too large to display on the screen, they will automatically become scrollable. Normally we don’t need that many options for an Alert. For Android, you can show at max 3 options. So, if you want your Alert button to show the same number of options for both Android and iOS, go for 3 buttons.
Conclusion :
Hopefully, you have got a better understanding of Alert in react native. Try to run these examples on Android emulator and compare the results. If you have any queries or doubt, drop one comment below.


