Introduction :
In this post, we will create one React Native project with one text input field and one clear button. The clear button will remove all text from the input field.
Create a React Native project:
Create one basic React Native project and run it on an emulator or real device. Delete everything in the App.js file and follow the below steps.
Clearing TextInput :
To take text as input from the user, we can use the TextInput component in React Native. You can import it from the react-native module. On Android, editable text inputs don’t provide any clear button by default. But we can add one clear button on iOS apps. React Native provides one prop to turn it on or off. We can use the following prop to toggle it:
clearButtonMode;It takes one enum with one of the following values:
enum("never", "while-editing", "unless-editing", "always");By default, its value is never. It will add one clear button to the right side of the TextInput on iOS devices if we provide any other value.
If we provide while-editing, it will add the clear button while editing the text, unless-editing will add it if the text is not edited, and always will add it always.
How to add a clear button with TextInput in Android:
The above prop will not work on Android. If you want to make it look similar on both Android and iOS, we need to add one button to the right of it. We can use one Image component wrapped inside a TouchableOpacity component as the button.
You can also use any other component e.g. Pressable or TouchableWithoutFeedback as the wrapper component of the image. Similarly, you can use a vector image instead of a .png. For this example, let’s use TouchableOpacity and Image components:
<TouchableOpacity style={styles.closeButtonParent} onPress={() => setText("")}>
  <Image style={styles.closeButton} source={require("./assets/close.png")} />
</TouchableOpacity>
If we press it, it will set one string variable empty. The TextInput will use the value from this variable.
<TextInput
  style={styles.textInput}
  value={text}
  onChangeText={(value) => setText(value)}
/>
Full React Native example:
Below is the complete App.js file:
import React, { useState } from "react";
import {
  SafeAreaView,
  StatusBar,
  StyleSheet,
  View,
  TextInput,
  TouchableOpacity,
  Image,
} from "react-native";

const App = () => {
  const [text, setText] = useState("");
  return (
    <>
      <StatusBar barStyle="dark-content" />
      <SafeAreaView style={styles.container}>
        <View style={styles.parent}>
          <TextInput
            style={styles.textInput}
            value={text}
            onChangeText={(value) => setText(value)}
          />
          <TouchableOpacity
            style={styles.closeButtonParent}
            onPress={() => setText("")}
          >
            <Image
              style={styles.closeButton}
              source={require("./assets/close.png")}
            />
          </TouchableOpacity>
        </View>
      </SafeAreaView>
    </>
  );
};

const styles = StyleSheet.create({
  container: {
    flex: 1,
    flexDirection: "column",
    justifyContent: "center",
  },
  parent: {
    marginLeft: 25,
    marginRight: 25,
    borderColor: "gray",
    borderRadius: 5,
    borderWidth: 1,
    flexDirection: "row",
    justifyContent: "space-between",
  },
  textInput: {
    height: 40,
    width: "90%",
  },
  closeButton: {
    height: 16,
    width: 16,
  },
  closeButtonParent: {
    justifyContent: "center",
    alignItems: "center",
    marginRight: 5,
  },
});

export default App;
Output:
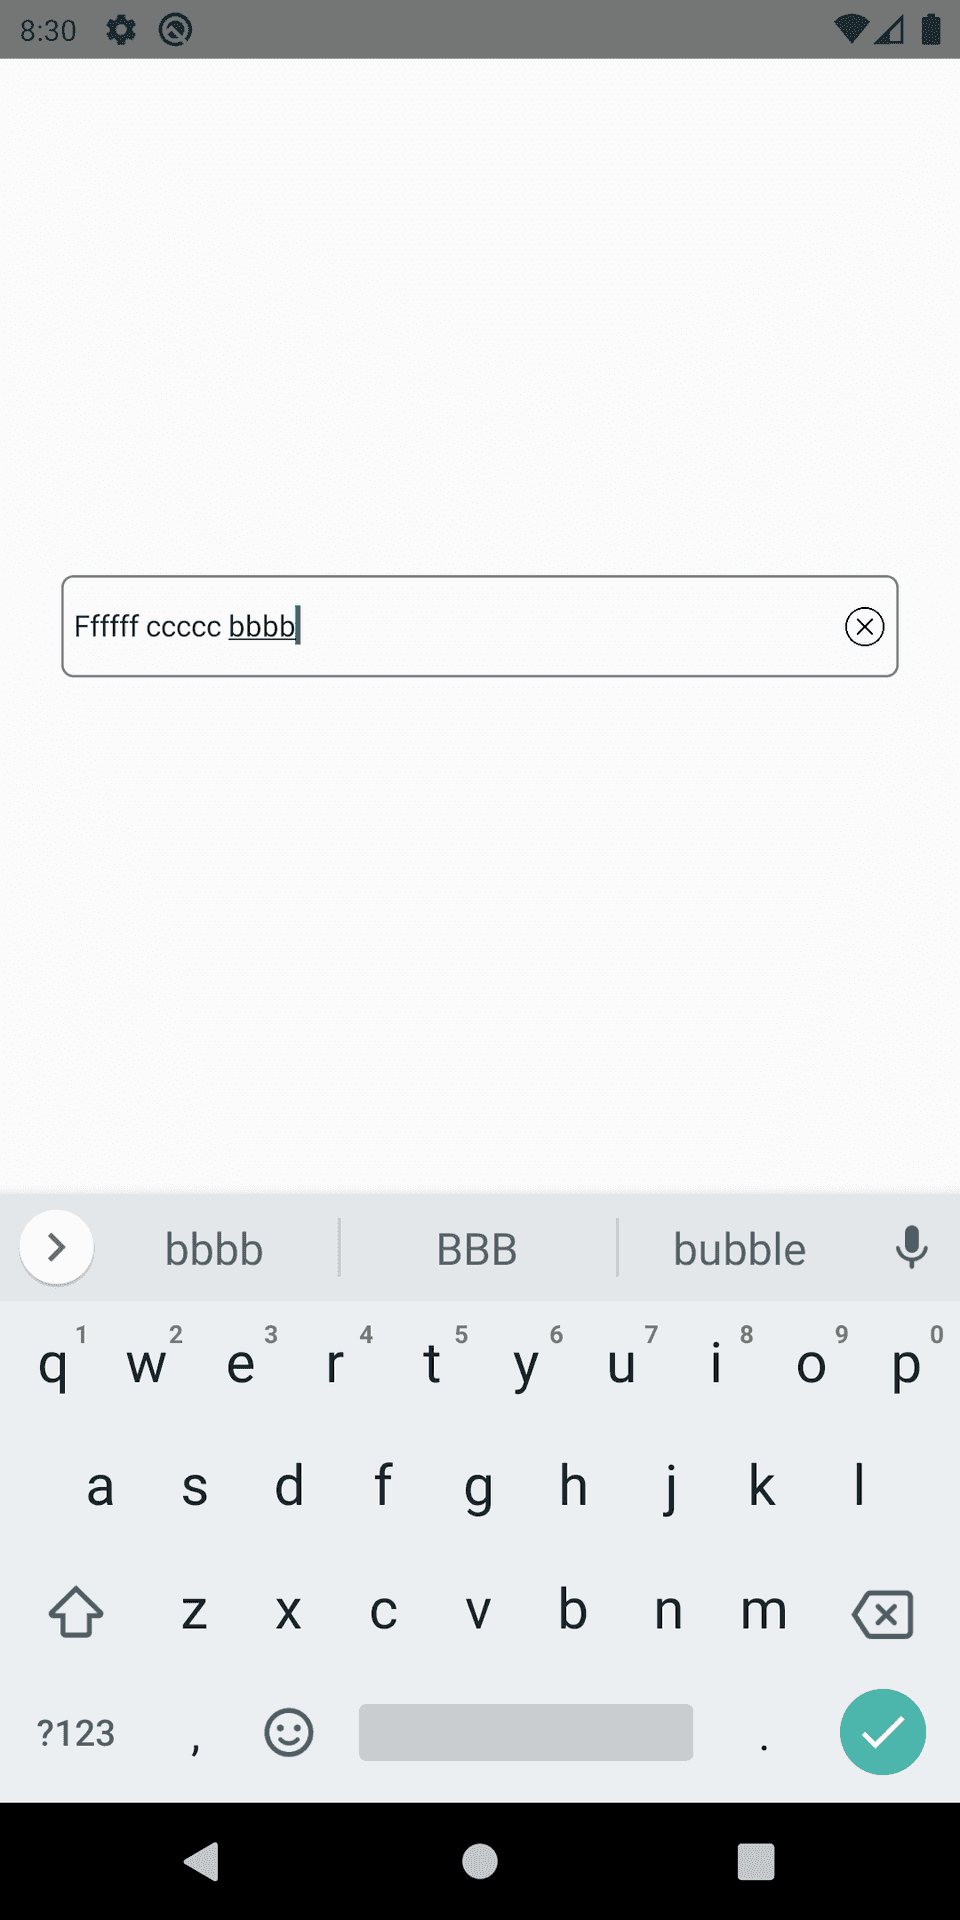
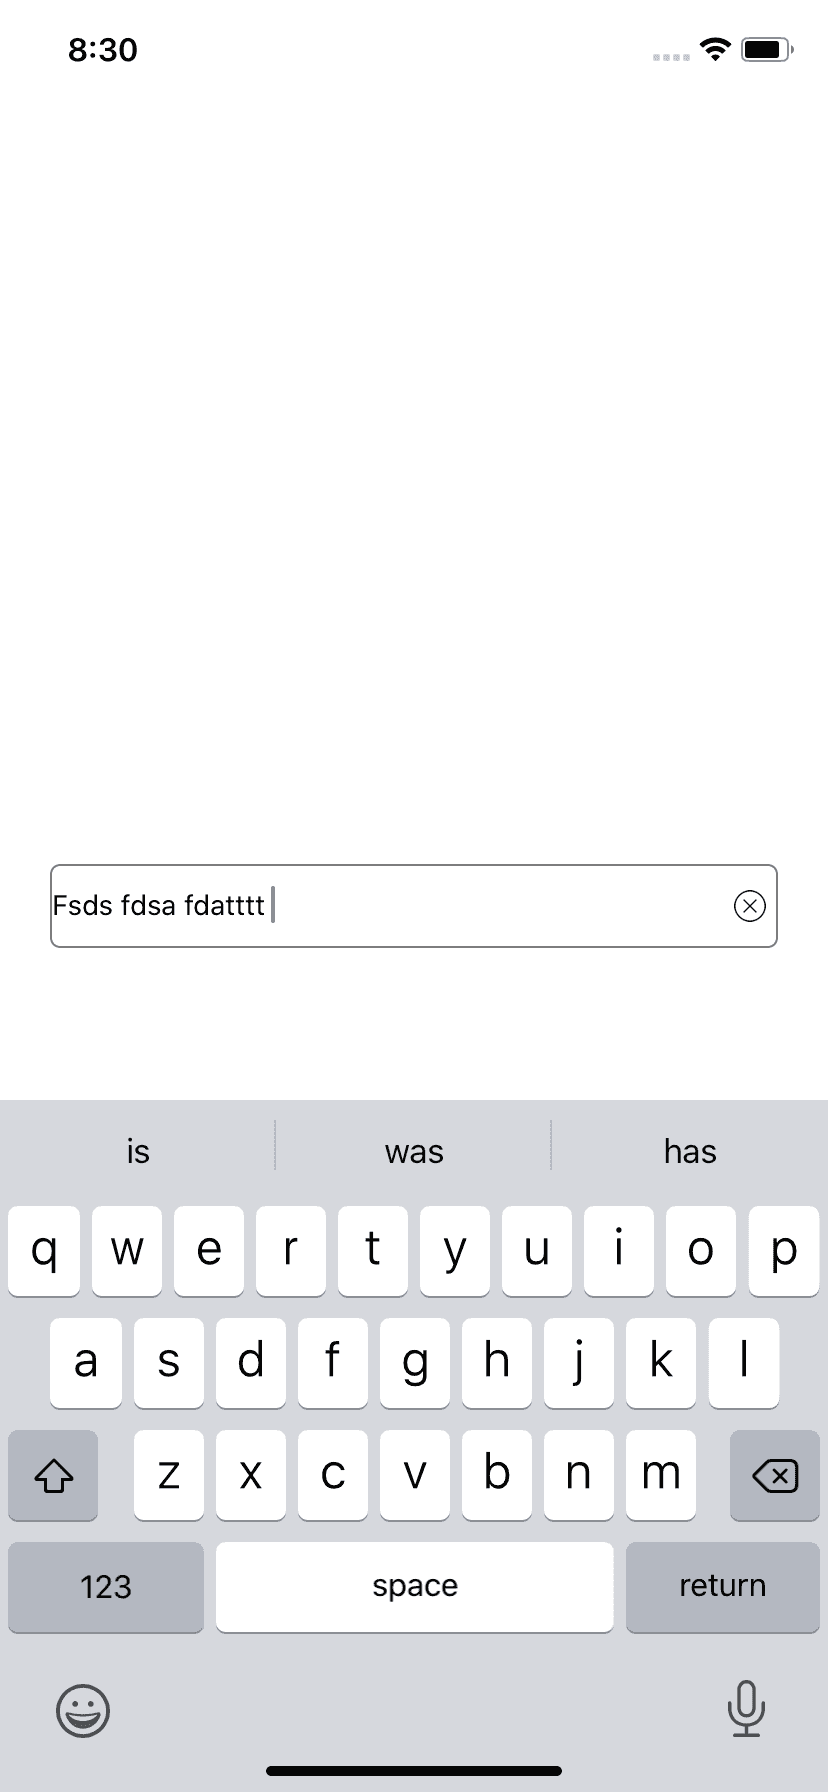
If you run the above program, it will look as below on Android and iOS devices:
You might also like:
- React native example to create Text with different colors or multicolored Text
- How to remove yellow warning box in React Native
- How to hide the keyboard on touch outside in react native
- Handling keyboard with react-native ScrollView
- How to show pdf files in react native applications
- How to add scroll to top to a FlatList in ReactNative app
- How to change the background color of a View dynamically in React Native


